-
Whatsapp: +86 15516933785
-
Email: hanlin@hanlinplayground.com
-
Address: Shangjie District, Zhengzhou City, Henan Province, China
-
Whatsapp: +86 15516933785
-
Email: hanlin@hanlinplayground.com
-
Address: Shangjie District, Zhengzhou City, Henan Province, China
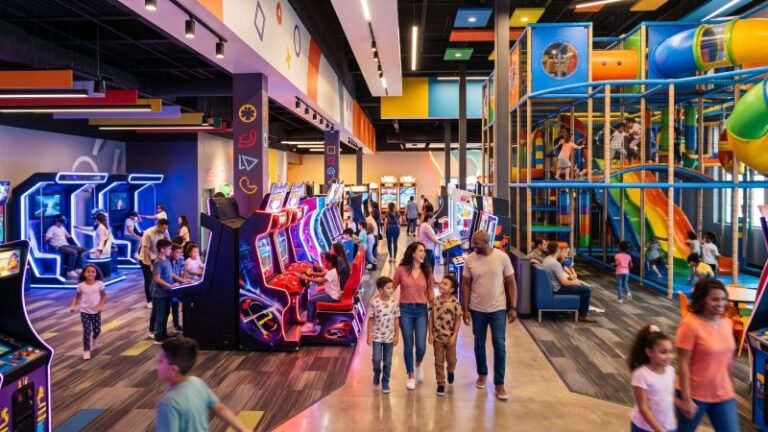
How to Start an Indoor Playground Business: The Ultimate Guide
What are the essential steps to successfully start an indoor playground business from scratch?
Starting an indoor playground business involves a four-phase process: 1. Conducting detailed business planning and market positioning. 2. Securing a location and ensuring legal compliance with all permits and licenses. 3. Sourcing and installing all play equipment. 4. Establishing operational procedures and launching your marketing plan.
Phase 1: Business Planning and Market Positioning
Before you can choose a location or buy equipment, what is the single most important step to starting an indoor playground?
You must first create a detailed business plan built on solid research. This plan involves identifying your specific customers (market analysis), accurately calculating all startup costs (cost estimation), defining how you will make money (revenue models), and securing the money to build and operate (funding and capital).
Market Analysis: What Age Range Will Your Playground Serve?
This is the most important question you will answer, as it dictates every other decision you make, from your equipment costs to your insurance rates. You cannot be everything to all children. Trying to build a space for both a 2-year-old and a 12-year-old in the same area often results in a space that is unsafe for the toddler and boring for the pre-teen.
Why Your Niche Matters
Think of your market analysis as choosing the “theme” for your park. A business focused on toddlers (ages 0-5) is a completely different business from one focused on older kids (ages 6-12).
- A Toddler-Focused (0-5) model requires soft-play equipment, sensory walls, safe-crawl spaces, and wide, open sightlines so parents can always see their child. The focus is 100% on safety and gentle stimulation.
- A General Play (2-10) model is the most common but also the hardest to get right. It must have physically separate, fenced-off toddler zones to prevent injuries.
- An “Activity Center” (8+) model is less of a playground and more of a challenge center. This includes features like ninja warrior courses, climbing walls, or trampoline zones, which have different safety and staffing requirements.
Conducting Local Market Research
Before you commit, you must research your local area. Ask these questions:
- Who is my competition? Are there three other toddler-focused play areas nearby? If so, that market might be “saturated,” or full.
- What gap can I fill? Perhaps you notice that all the local playgrounds are for young kids, but there is nothing for the 8-12-year-old “tween” market.
- What is the “demographic”? Are you in a neighborhood with many new families and young children, or is it an older, more established area? This data will tell you if your customer base even exists.
Cost Estimation: The Initial Investment for an Indoor Playground Business
Understanding your costs is the key to building a realistic plan. While the final price can vary widely based on your location and size, your budget must account for several major expense categories.
A small, simple playground in a low-cost area might start around $50,000, while a large, custom-themed facility in a major city can easily exceed $500,000.
Your costs will fall into two groups:
- 1. Startup Costs: The one-time expenses you pay before you open your doors.
- 2. Operating Costs: The recurring monthly bills you pay to stay open.
Here is a breakdown of the primary Startup Costs you must budget for:
- Main Play Equipment: This is your largest single expense. A quality, commercial-grade structure is not cheap.
- Lease Security Deposit: Landlords typically require 1-3 months of rent upfront.
- Build-Out and Renovation: This includes creating party rooms, building bathrooms, installing a reception desk, painting, and flooring. This category often costs more than entrepreneurs expect.
- Furniture, Fixtures & Equipment (FF&E): This is all the non-playground “stuff,” like cafe tables, chairs, lockers, computers, and shelving.
- Licenses, Permits, and Legal Fees: The cost to register your business and have a lawyer review your lease (which we cover in Phase 2).
- Initial Inventory: This includes all the snacks for your cafe, branded socks (a great revenue source), and cleaning supplies.
Pro Tip: When getting quotes for your main play structure, the price for materials, shipping, and installation can vary significantly. Always confirm the total, all-inclusive cost with your supplier to prevent budget overruns.
Revenue Models: Designing Tickets, Memberships, and Party Services for Profit
A successful indoor playground never relies on only one source of income. Your business plan must include multiple “revenue streams.” This diversification protects you from slow weekdays or bad weather. The three most important streams are:
- General Admission (Drop-in Play)
- Memberships (Recurring Revenue)
- Birthday Parties & Events (High-Margin)
This table shows how each stream functions:
| Revenue Stream | How It Works | Strategic Purpose |
|---|---|---|
| General Admission | This is your “walk-in” business. A parent pays for 2 hours or an all-day pass for their child. | Attracts new customers and serves as your main “advertisement.” However, it is inconsistent and often depends on weather. |
| Memberships | Customers pay a flat fee per month or year for unlimited visits. | This is your most important stream for predictable cash flow. This is the money you can count on to help pay your rent. |
| Birthday Parties | You sell “party packages” that include a private party room, food, and playtime for a group. | This is your highest profit center. Parties are booked in advance, are easy to staff, and have very high profit margins. |
Most established playgrounds find that parties are their biggest profit-maker, while memberships provide the stable, recurring cash flow needed to pay the bills.
Funding and Capital: Analyzing Startup Costs and Operating Reserves
You have your cost estimate from the previous step. Now, where do you get the money? And more importantly, how much extra do you need?
Common Funding Sources
- Personal Savings: The most common source, where you invest your own money.
- Friends and Family: A loan or investment from people who believe in you.
- Business Loans: A Small Business Administration (SBA) loan (in the U.S.) or a traditional bank loan. These require a very strong business plan.
- Equipment Financing: Some playground suppliers offer financing plans, allowing you to pay for the equipment over time.
The Most Critical Rule: Budget for Operating Reserves
This is the single most important piece of financial advice: Do not spend all your money on the build-out.
You must have “working capital,” or operating reserves, set aside. This is cash in the bank, after you open, used to pay your bills until your business becomes profitable.
Why is this so critical? Your playground will not be full on Day 1. It takes months for your marketing to work and for word-of-mouth to build.
Industry experts recommend having 6 to 12 months of your total operating costs (rent, payroll, utilities, insurance) saved in a separate bank account.
This fund is the “safety padding” for your business. When you have a slow month—and you will—this reserve is what allows you to pay your rent. This cash cushion gives your new business the time it needs to grow.

Phase 2: Legal Compliance and Location Scouting
After planning, what are the two most critical foundations you must build for your new playground business?
You must first establish the correct legal and insurance framework, which protects your business and personal assets. Following that, you must find a physical location that is compliant, affordable, and strategically positioned to attract your target customers.
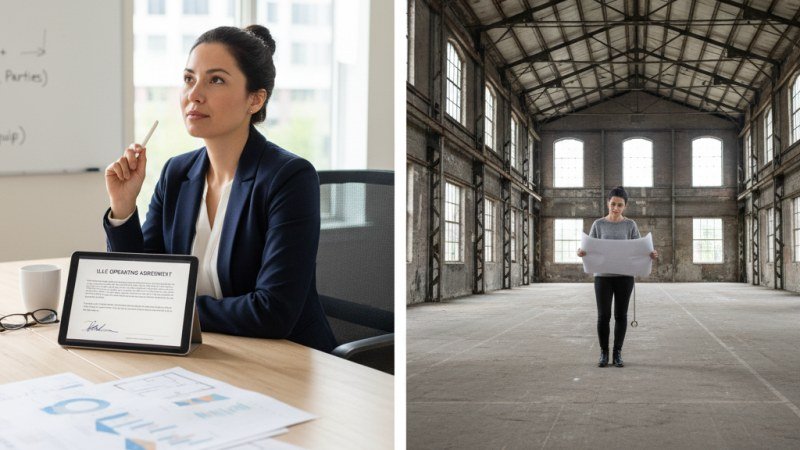
Critical Legal Steps: Business Registration and Securing Insurance
This is the most important, non-negotiable step in your entire journey. It is the “foundation” that protects you, the owner. Indoor playgrounds are considered high-liability businesses. Do not skip or delay these steps.
Choosing Your Business Structure
You have two main choices:
- Sole Proprietorship (or Partnership): This is the default. It is easy to set up, but it offers zero liability protection. If a child is injured and the business is sued, your personal assets—like your house and your car—are at risk.
- Limited Liability Company (LLC) or Corporation: This structure creates a legal “wall” between the business and you personally. An LLC is treated as a separate legal entity. If the business is sued, the liability is limited to the assets of the business itself, protecting your personal property.
For a playground, forming an LLC or Corporation is the standard and highly recommended path. The minor cost and paperwork far outweigh the risk of losing your personal assets.
The Non-Negotiable: Liability Insurance
You cannot—and must not—open an indoor playground without comprehensive insurance. In fact, no landlord will even rent you a space without it.
You will need several types of coverage, but the most important is General Liability Insurance. This policy covers claims of bodily injury (if a child gets hurt) and property damage. Given the nature of the business, you must secure a policy with a high coverage limit, often $1 million per incident or more. Your insurance broker will also likely require policies for “Accident Coverage” or other specific riders for play equipment.
What Permits and Licenses Do I Need to Open an Indoor Playground?
This is a common question, but the answer is always local. The exact permits needed can vary dramatically between states, counties, and even neighboring cities.
Important: Your first and most important visit should be to your local City Hall or Small Business Administration (SBA) office. They will provide a specific checklist for your area.
While you must check locally, here are the most common permits and licenses you will likely need:
- Business License: The basic license from your city or county to operate a business.
- Certificate of Occupancy (CO): This is the most critical permit. It is an official document from your local building or zoning department certifying that the building is safe and matches its planned use. A building previously used as a retail store may need a new CO for “recreational use.”
- Health Department Permit: This is mandatory if you plan to sell any food or beverage, including pre-packaged snacks or coffee.
- Building Permits: If you plan to build or move any walls, install new plumbing, or do major electrical work, you will need building permits before work begins.
- Sign Permit: Most cities require a permit to install your permanent sign on the building’s exterior.
Location Criteria: Analyzing Foot Traffic, Rent, and Local Competition
Your location can determine your success or failure. The goal is to find a place that your target customers can find and access easily.
When scouting locations, focus on these three factors:
- Demographics and Foot Traffic: Is the location where your customers (from Phase 1) already are? The best locations have “built-in” traffic. For example, a spot in a shopping plaza anchored by a major grocery store, family restaurant, or dance studio means parents are already visiting the area. A hidden-away warehouse location is cheaper but will require a much larger marketing budget just to get people to find you.
- Affordability (Rent): Your rent will be one of your largest fixed operating costs. A “prime” high-traffic location also comes with “prime” high rent. You must balance the visibility of the location with the financial projections you made in Phase 1.
- Local Competition: Map out your competitors. Are there other playgrounds nearby? If so, is the market large enough for two? Also, analyze “indirect” competition. This includes public parks, community centers, trampoline parks, or even children’s museums.
Site Requirements: How Many Square Feet Are Needed for an Indoor Playground?
This question directly links back to the business model you chose in Phase 1. The space you need depends on the age range you plan to serve.
- Small (Toddler-Only Focus): 2,500 – 4,000 square feet. This can support a soft-play area, a small party room, and reception.
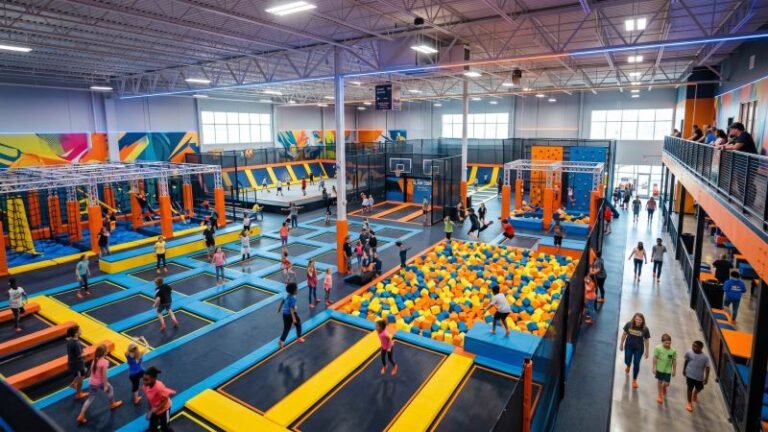
- Medium (Mixed-Age Model): 5,000 – 8,000 square feet. This is a common size, large enough for a main play structure, a separate toddler-only zone, and two party rooms.
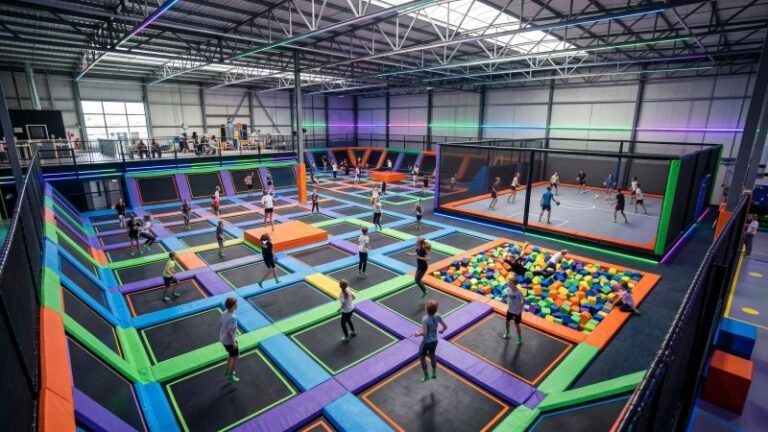
- Large (Multi-Attraction Facility): 10,000+ square feet. This is for larger-scale operations that might include ninja courses, trampolines, or climbing walls.
Beyond just the square footage, the type of space is critical. Look for these features:
- Ceiling Height: This is an industry-specific deal-breaker. You cannot install a multi-level play structure in a building with low office ceilings. You need a minimum of 14-18 feet of clear height, and 20-25 feet is often preferred for larger equipment.
- Open Floor Plan: You want a large, open “box” space. Fewer support columns or interior walls are better, as they give you a blank canvas for your layout (which we cover in Phase 3) and reduce demolition costs.
- Ample Parking: You must have a large, convenient parking lot. Parents managing multiple children and strollers will not visit if parking is a major hassle.
- Zoning: The property must be zoned by the city for commercial or recreational use. A former retail store, restaurant, or gym is often a good candidate.
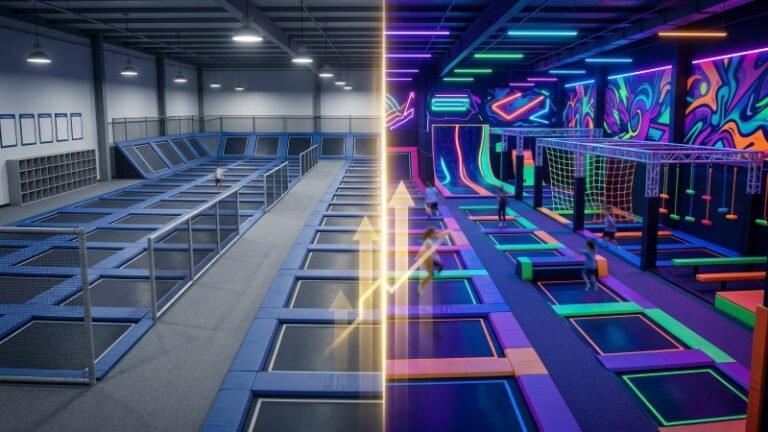
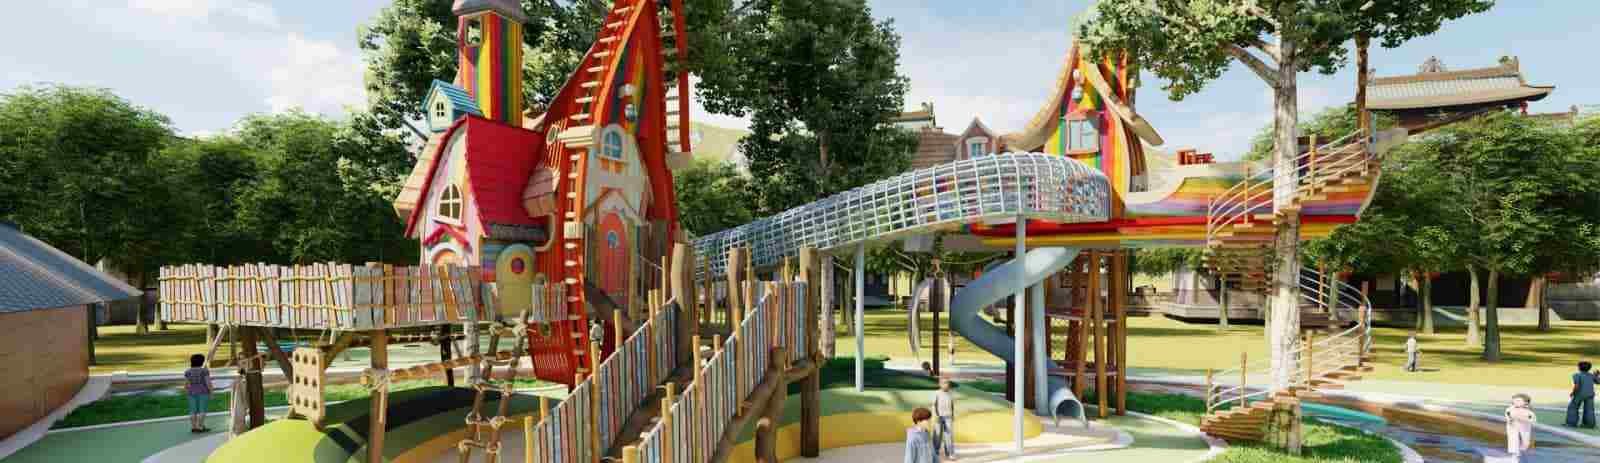
Phase 3: Equipment Sourcing and Build-Out
Now that you have a plan and a location, what are the physical steps needed to turn an empty building into a vibrant indoor playground?
This phase is where your vision becomes a physical reality. It involves three distinct actions: creating a detailed shopping list of every item you need (the checklist), finding and vetting the right suppliers for your main play structures (sourcing), and designing a safe and engaging floor plan (layout and theming).
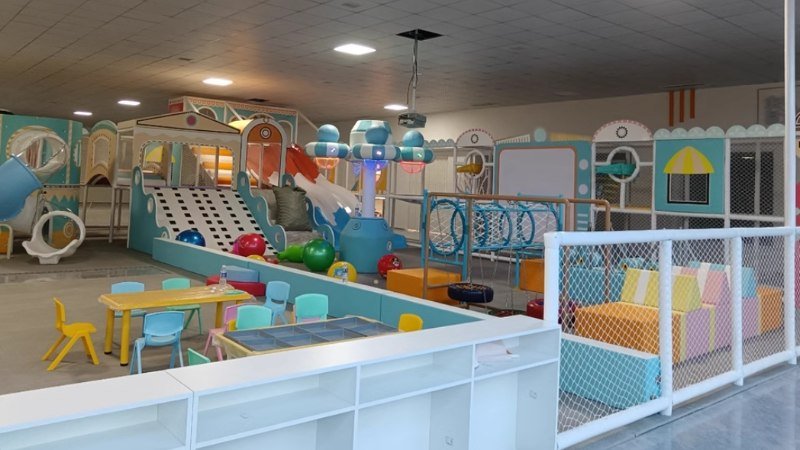
The Essential Checklist: What Do I Need to Open an Indoor Playground?
This H3 directly answers the common question, “What do I need to open an indoor playground?” Your needs go far beyond just the main play structure. A successful build-out requires items in three main categories.
1. Core Play Equipment
This is the main attraction and the primary focus of your budget. The items you choose here are dictated by the age range you defined in Phase 1.
- Main Play Structure: The large, multi-level climbing structure with slides, tunnels, and obstacles.
- Toddler Soft-Play Area: A must-have separate, fenced-in area with soft-sculpted climbers, rockers, and sensory panels for children under 3.
- Ball Pit: A classic feature, though it requires specific, high-capacity cleaning equipment.
- Ancillary Attractions: These are smaller, often separate features like trampolines, climbing walls, or ninja courses. (Note: These often carry separate insurance requirements).
2. Operational & Business Equipment
This is the equipment required for transactions and management.
- Point-of-Sale (POS) System: A computer, cash drawer, and receipt printer. This should ideally be linked to waiver management and party-booking software.
- Waiver Station: Dedicated tablets or a kiosk for parents to sign digital liability waivers.
- Cafe/Concession Equipment: If you plan to sell food (as decided in Phase 1), this includes a coffee machine, refrigerator, snack shelving, and any required cooking appliances.
- Office Furniture: A desk, chair, and locking file cabinet for your back office.
3. Safety, Furniture, and Amenities
These are the non-play items that ensure comfort, safety, and functionality.
- Parent Seating: Durable, comfortable benches, chairs, and tables for supervising parents.
- Storage: Cubbies or lockers for guests to store shoes, coats, and bags.
- Reception Desk & Entry Gates: A check-in counter and secure “airlock” style gates to prevent children from running out.
- Safety Essentials: First-aid kits, fire extinguishers, and wall/column padding for the entire facility.
- Cleaning Supplies: Commercial-grade vacuums, mops, and sanitizing stations.
EquipmentSourcing: How to Choose Safe, Compliant, and Engaging Suppliers
This is the most high-stakes purchase you will make. Choosing a supplier is not just about the 3D design; it is a long-term partnership for safety and quality.
Safety and Compliance: The Cornerstone of Professionalism
Your first priority is to ensure the supplier’s equipment meets or exceeds your market’s safety standards. This is often a prerequisite for your insurance and operating license.
A professional supplier will be transparent about their compliance. These certifications are proof of their commitment to quality and safety. Signs of a professional supplier include:
- Management System Certifications (Process Quality):
- Such as ISO 9001 (Quality Management), ISO 14001 (Environmental Management), and ISO 45001 (Occupational Health & Safety). This demonstrates the manufacturer has stable, professional, and responsible production processes.
- Product Safety Certifications (Product Quality):
- This is a must-have. Different markets have different mandatory standards, for example:
- In Europe: EN 1176 (Playground Equipment Safety Standard) and CE certification are common requirements.
- In the United States: Look for suppliers who design and manufacture according to ASTM F1918-12 (Standard Safety Performance Specification for Soft Contained Play Equipment).
- In Canada: Suppliers must be aware of provincial standards, such as TSSA (Technical Standards and Safety Authority) requirements in Ontario.
Important: Policies and required standards vary by country and region. You must ensure the equipment you purchase strictly follows your local laws and regulations.
Questions to Ask Your Supplier
Choosing a supplier based only on a 3D rendering is a common and costly mistake. You must investigate the supplier’s safety compliance, material quality, and warranty terms.
- What materials are used? Ask for specifications on the steel thickness, the density of the foam padding, and the quality of the vinyl. Is the vinyl fire-retardant and lead-free?
- What is the warranty? Get a detailed warranty statement. A 1-year warranty on a structure meant to last 10 years should be a red flag.
- How is installation handled? The installation of a large play structure is a complex job. It is best to have it installed by an experienced local team.
- Can I see your work? Ask for references and to visit other playgrounds they have built.
Supplier Note: The specific grade of materials, such as vinyl thickness or foam density, can vary between suppliers. Always request detailed specification sheets for the exact equipment you are ordering to ensure it meets your durability and safety requirements.
Layout Design and Theming: Balancing Safety Standards with Atmosphere
Your layout is the “floor plan” that directs traffic, prevents accidents, and creates a good customer experience.
The Science of Layout: Flow and Sightlines
A good layout is designed for safety and efficiency above all else.
- Parental Sightlines: This is the most critical rule. The parent seating area should have a clear, wide view of the main play areas. Avoid a layout that forces parents to guess where their child is.
- Zone Separation: The toddler area must be physically separate from the main play structure. It should be enclosed with a low fence and a self-latching gate. This prevents older kids from accidentally running into toddlers.
- Logical Flow: The entrance, waiver station, check-in desk, and entry gate should be in a logical sequence to prevent a “bottleneck” at the front door.
The Art of Theming
Theming—like a jungle, space, or ocean concept—can make your playground memorable. However, it is a balance of cost and impact.
- Theme as a Feature: A strong theme can be a major marketing draw. It ties the whole experience together.
- Theme as a Cost: Custom-themed structures and 3D-molded elements are significantly more expensive than standard, colorful equipment.
Pro Tip: A simple, clean, and brightly colored space is often better (and less expensive) than a poorly executed or “busy” theme. If your budget is tight, focus on a standard, colorful structure and use paint, wall decals, and furniture to create your theme.

Phase 4: Operations Prep and Market Launch
With your playground built, what are the final steps before you can unlock the doors and welcome your first customers?
This final phase involves establishing your public identity through branding, defining the non-negotiable daily rules for safety and operations, and launching a marketing plan to attract your first wave of customers. It also includes passing any final, region-specific operational inspections.
Brand Building: Naming, Logo Design, and Your Brand Story
Before you market, you must know what you are marketing. Your brand is your reputation. It is the “feeling” parents and children get when they think of your business.
Naming and Logo Design
Your name is your most important marketing tool. A good name is:
- Easy to remember: “The Play Pod” is easier to recall than “Anderson Family Funplex.”
- Easy to search: Avoid creative misspellings (like “Kiddie Kraft”) that make you hard to find on Google.
- Tells a story: “Jungle Jive” or “Tiny Town” immediately creates a mental image.
Your logo is the visual first impression. It should be simple, professional, and clear. It will be used on everything from your building’s main sign to your website and employee t-shirts.
Your Brand Story
This is your “why.” Why did you start this business? What makes you different from the community center or the park down the street? Your story becomes your unique selling point.
- Is your story cleanliness? Your marketing should feature your strict sanitization schedules.
- Is your story community? Your marketing should highlight your cafe, comfortable seating for parents, and “family” atmosphere.
- Is your story educational play? Your marketing should focus on how your structures promote STEM or motor skills.
Setting Operational Rules: Ticketing Systems, Safety Briefings, and Staff Handbooks
This is the internal “guide” that ensures every guest has a consistent, safe experience. If you do not write down the rules, you cannot enforce them.
Ticketing and Capacity Management
You must decide how you will let people in.
- POS System: This is your Point-of-Sale, or cash register. It should also be able to sell memberships and book parties (as defined in Phase 1).
- Online Booking: Many modern playgrounds use online booking. This allows parents to reserve a 2-hour “play slot.” This is the best way to manage capacity, prevent overcrowding, and reduce wait times at the front desk.
- Waivers: Your POS and booking system must integrate with your digital waiver system (from Phase 2). No waiver, no entry.
Guest Rules and Safety Briefings
You must have a clear, simple list of rules posted at the entrance and on your website. This is not just for you; it is for your insurance.
Common (and Essential) Playground Rules:
- Socks are required for ALL guests (adults and children) in the play area.
- Parents or guardians must supervise their children at all times.
- No outside food or drink (except for baby bottles or allergy needs).
- No sick children. Please stay home if you are coughing or have a fever.
Your staff must be trained to politely explain these rules to every guest at check-in. This is the “safety briefing.”
The Staff Handbook
This is the rulebook for your employees. It explains everything from the opening and closing cleaning checklists to what to do in an emergency. It ensures that even when you, the owner, are not there, the business runs accordingto your standards.
Grand Opening Marketing: How to Build Buzz and Attract Your First Customers
You cannot just unlock the door and expect people to show up. A “grand opening” is a planned event designed to create excitement.
Pre-Launch Marketing (Building Hype)
Your marketing should start before you open.
- Start a Social Media Page: Create a Facebook or Instagram page as soon as you sign your lease.
- Post “Behind-the-Scenes” Content: Post photos of the build-out. (“The main structure is here!”) This builds a following.
- Run a Contest: A pre-launch contest (like “Win a free 10-visit pass”) is a low-cost way to get hundreds of local followers.
- Sell “Founders” Memberships: Offer a special, limited-time discount for the first 50 families who sign up for an annual membership.
The Grand Opening Event
Plan your first Saturday as a major event.
- Invite local parent-bloggers or social media “influencers” for a free preview night.
- Offer a simple promotion (e.g., “Free coffee for parents all day” or “First 50 kids get a free balloon”).
- Partner with a local business, like a nearby pizza shop, for cross-promotion.
The goal of the event is to get real, paying customers in the door who will then tell their friends.
Regional Considerations: Opening an Indoor Playground in Ontario as an Example
This entire guide gives you the steps, but you must check your local laws. Rules vary dramatically by city, state, and country.
A perfect case study is opening an indoor playground in Ontario, Canada.
- TSSA (Technical Standards and Safety Authority): Ontario has very specific rules. If your playground includes certain “amusement devices” (this can include large, complex inflatables or mechanical rides), they must be registered, inspected, and licensed by the TSSA before you can legally operate them. This is a step beyond a standard business license.
- Public Health Inspections: Like anywhere else, if you have a cafe or serve party food, the local Public Health unit (e.G., Toronto Public Health) must inspect and approve your facility before you open.
- Building Code: Ontario’s Building Code dictates specifics on room capacity, exits, and bathroom requirements, which your build-out (Phase 3) must meet.
This example shows why you cannot just “copy” a business from another state. You must use this guide as a map and then verify every step with your local municipal and provincial/state authorities.

Conclusion
Starting an indoor playground business is a significant undertaking that requires careful planning from start to finish. This guide has detailed the essential four phases: building a solid business plan, handling legal and location requirements, sourcing compliant equipment, and preparing for your operational launch. By addressing each of these key areas—from market analysis and funding to safety standards and marketing—you can create a strong foundation for a safe, engaging, and successful business.